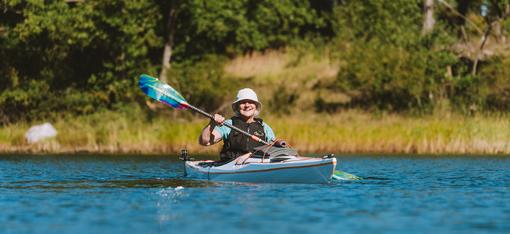
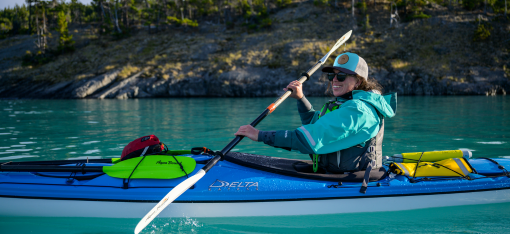
Packrafting Skills Session: Whitewater Safety
Whether new to whitewater and packrafting or looking to shake off the complacency cobwebs, getting out to practice whitewater safety skills is a fun and valuable time on the river. Here are five skills to get you going!
1. Wet Exit and Re-Entry
As when trying any new-to-you boat, it’s a prudent idea to practice wet exiting before ripping into the rapids. Leg angle and extension, thigh straps, and skirt tension will vary, so getting a good feel for how to get out when upside down is crucial to your safety.
A great way to start is to sit in your packraft on land, fully strapped in, and wiggle your hips side to side to get a feel for how snug the fit is. Then, pull your skirt and place your hands on your deck next to your hips and push up, leaning forward as if you could summersault out. This translates to building the muscle memory of rolling forward out of your boat instead of arching backwards which exposes your face and chest to the river bottom.

Getting back into the boat can look like a silly army crawl on land, but it can be helpful to figure out which direction to roll and where to place your hands and feet before adding the balance of on-water practice. There are varying techniques on how to re-enter, but a sturdy method is to pull yourself up like a seal over the cockpit, kick your legs and turn towards the back of the boat, hook one leg up and then the other, sliding into the footwell, and then roll upright into position.
You can then progress these skills to practicing in an eddy or pool with a friend in the water with you, and then on the river. Think about how to hold onto your paddle and packraft throughout the process in case a friend isn’t close by to catch them.
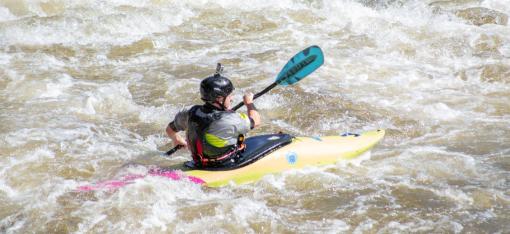
2. Rolling
Rolling is one of those skills that can look really intimidating and oh-so-cool, but is very attainable with consistent practice to build technique and muscle memory. It’s also an important skill to build if you’re running longer rapids in succession or remote, cold rivers when wet exiting becomes more hazardous, however, dialing in your wet exit and entry first is priority.
To practice, start with your paddle next to you, parallel to your boat on the side you intend to roll back up on and lean forward from your hips. Once upside down, push up on your paddle so it taps flat against the surface of the water. Sweep your paddle around and down to create resistance against the water to leverage yourself up. Thigh straps are needed for this skill to push up with your knees and flick your hips to create that crucial movement to righting yourself. As your paddle comes around to the back of your boat, your body will move with it from leaning forwards to finishing lying back on your boat, with your head coming out last. Watching instructional videos and others practicing can help you visualize the technique.
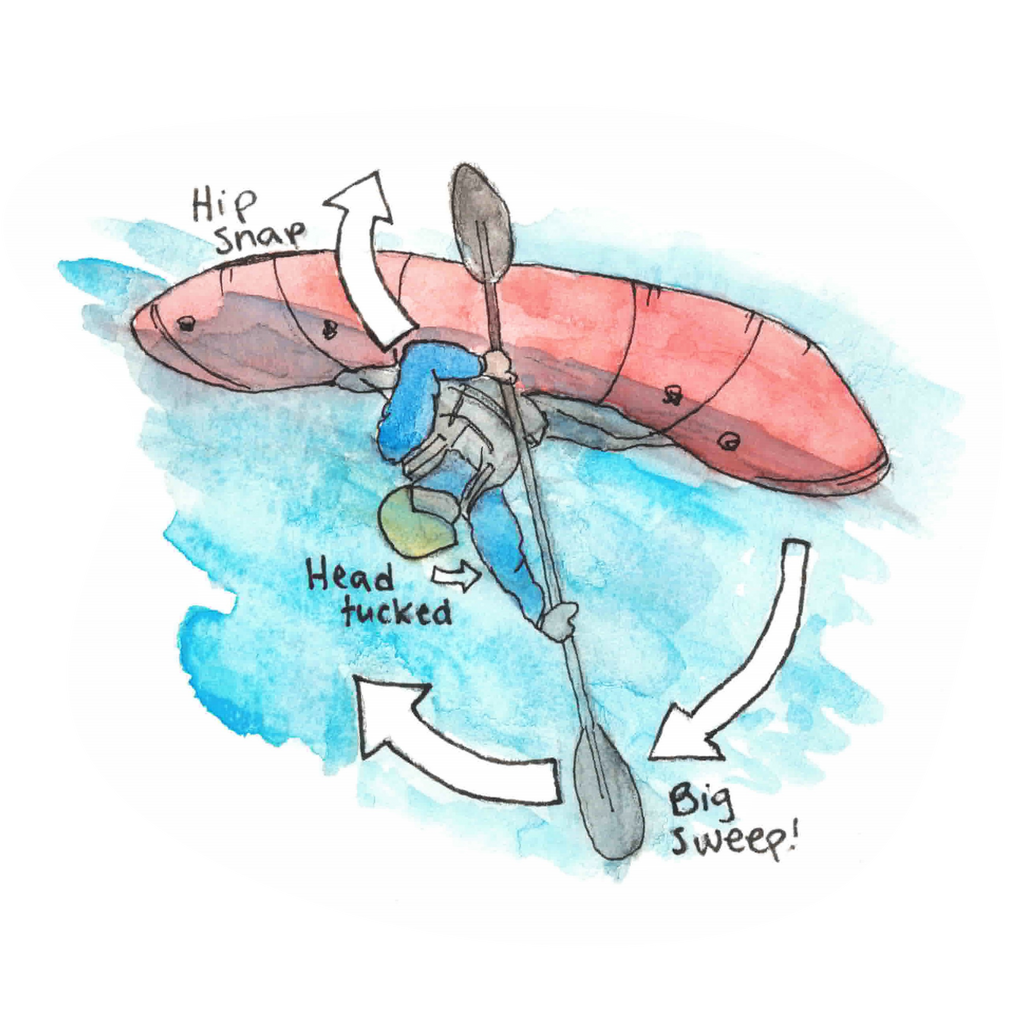
Practicing on flat water first is a must to get repetitions in, and having a friend in the water to flip you back up and guide your paddle will really help. A nose-plug can also be your friend so you don’t inhale half the lake when learning, and goggles can help you watch your paddle position underwater. Rolling a packraft also feels different than other boats due to the rounded side tubes, flatter bottom, and high buoyancy, so be patient with yourself.
3. Swimming Safely
When playing in rapids, especially as a beginner paddler, swimming is inevitable. There’s a saying that you should never paddle a rapid you can’t swim, and while some features certainly aren’t fun to swim, there’s a bit of truth there that you should be able and prepared to swim. Taking a whitewater rescue course is highly recommended to learn more in-depth about considerations for types of features and more thorough technique. Then, practicing those skills with friends at your local river can help take the flutter of nerves away when you swim in real time.

The three main points to know when swimming in whitewater are: default to the swimmer-ready position, facing up with feet downstream and sculling to direct yourself; flip onto your stomach and front crawl aggressively when needing to catch an eddy or move fast; and tuck into a tight cannonball position when going over drops to protect your limbs. And never, ever, stand up in the river unless you’re at the edge or in a shallow, calm eddy, to avoid foot entrapment.
4. Throw Bagging
Throw bagging and swimming go hand in hand like dirtbags and Subaru Outbacks. It’s a skill that you can practice in the parking lot while waiting for your friends to get their gear together, on shore while they’re messing around with their foot brace, and on the water when they finally swim.
Pull a few feet of rope out of the bag and hold on tightly with one hand while the other firmly grasps the bag. Some folks like to hold the bag like a football, others pinch the upper rim. Play around with over and underhand, throwing at targets of varying distance and then moving (hint: key is to think ‘throw past them, not to them’). Keep a strong stance with one foot forward and one back, able to move around as needed. When the swimmer catches the throw bag, they should float on their back and place the rope over their shoulder that’s furthest from shore, and only stand up once in a shallow eddy or at shore.

Taking a rescue course and learning these techniques more in depth will teach you about dynamic versus static throw bag rescues based on shoreline options, ways to coil rope for fast second and third-throw attempts, how to pull the swimmer on the line to a specific resting point, rescuing someone who can’t catch a line, ways to safely carry your throw bag with you, and so much more.
5. Setting Safety
Another great safety skill for your toolkit is how to think and talk through big picture plans with your group. When running an unknown or challenging section, setting up safety is an advisable measure. It can mean having people ready in their boats to paddle to a swimmer or lost gear, with throw bags on shore, or any combination of measures in place. It’s important to talk through as a group where these safeties should be in place to balance being close enough to be helpful but far enough away for reaction time, as well as considering shoreline and downstream features.
A fun way to practice is to head to a section of river with friends and run scenarios. Rotate so everyone gets a chance to try different roles. This is also a timely opportunity to try a new line you might have been eyeing to shake up your normal patterns. Running drills like these is a great way to break out of complacency, which can come quickly when paddling consistently with the same people on the same river.
About

Rachel Davies is an avid paddler, both professionally and personally. She has made home bases in the South Island of New Zealand and in the Canadian Rockies, where she has worked as a hiking, cycling, rafting and kayaking instructor. Packrafting came into her life to piece together her love of all these worlds while exploring new places through challenging, type-two fun adventures. Rachel aims to share this passion through her writing and artwork - follow along on IG @rachelmydavies and racheldaviesart.com. (photo courtesy of Heather Chrystie)